Homemade flour tortillas are simply delicious! The first time we made flour tortillas, my husband and I couldn’t believe the bold and deep flavor. The quality taste and texture was far above any store bought tortilla I have ever had. With the recent addition of a tortilla press to our kitchen, this recipe is a part of the regular rotation. We eat them with enchiladas, tongue tacos, breakfast burritos, and sometimes just on their own!
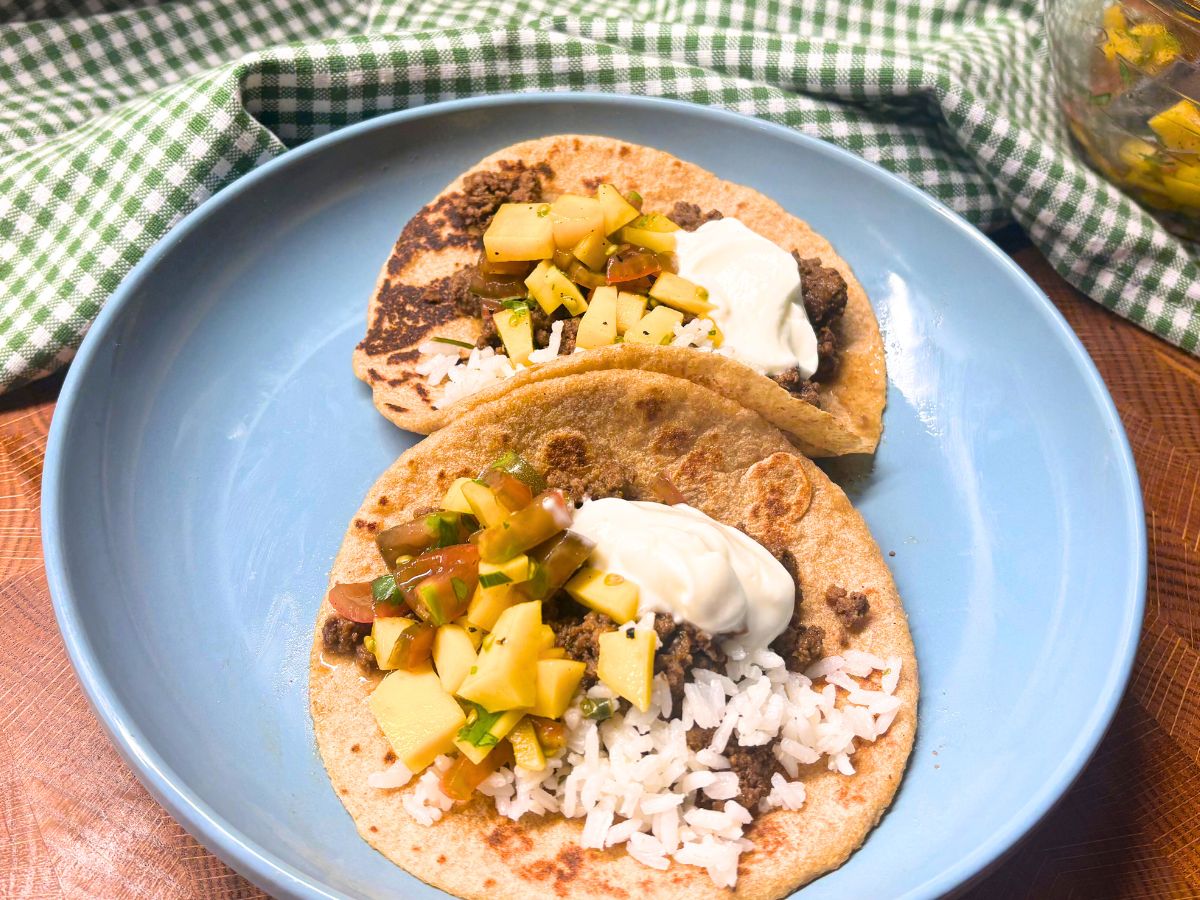
I originally shared this recipe in March of 2024 and am updating it today with new photos as well as some additional tips to make the best homemade tortillas!
I love using fresh milled flour because it creates such an increased depth of flavor in addition to the nutritional benefits. Making my own tortillas was one of those things that intimidated me when I first started cooking from scratch. Aside from being quite simple to make, it is one of those recipes that once you learn how to make it, you won’t want to go back to the store-bought version.
Homemade Fresh Milled Flour Tortillas
I have to be honest that the majority of this recipe creation credit goes to my father-in-law, but it is simply too good to hold back (plus I was growing tired of searching through the pictures on my phone for the one with the recipe scratched on a piece of paper). Fortunately, I have gotten the go-ahead to share it with you. Now, I (and you) can easily find the recipe whenever you need it!
Reasons to Love Homemade Fresh Milled Flour Tortillas
Flavor – Fresh Milled Flour has so much flavor and more preserved nutrients that the store-bought version.
Simple – This recipe is easy to follow and has very little hands on time, allowing you to prepare other portions of your meal at the same time.
Versatile – These tortillas work great with a variety of dishes. From tacos and enchiladas to fajitas and breakfast burritos!
Ingredients
Flour: Not only does freshly milled flour taste great, but it is also packed with nutrients that can actually benefit your health. Freshly milled flour naturally contains all the nutrients that are added to enriched flour in a much more natural and bioavailable form.
Warm Milk: Warm milk helps create a softer dough and gives the tortilla that nice browned color. The fats in the milk also make the dough easier to work with.
Vinegar: The acidity of the vinegar relaxes the gluten in the flour making it easier to roll out or press. This prevents the dough from getting elastic and tough.
Oil: Any milder and neutral flavor oil such as avocado oil, olive oil, or lard work best. I have also used coconut oil in a pinch. If you are using lard, you will want to make sure to melt it first.
Baking Powder: This will give the tortilla just a slight rise to keep the dough from getting too dense. If you don’t have or prefer not to use baking powder, you can also substitute baking soda and any type of acid (lemon juice, cream of tartar, or apple cider vinegar). The substitution ratio is 1/4 tsp of baking soda and 1/2 tsp of acid for every 1 tsp of baking powder.
Salt: As always, the salt enhances and brings together all the flavors of the recipe.
Instructions
Mill all of the flour I like the combination of hard white and Kamut, but you can choose any combination you like or just stick to one type of flour.
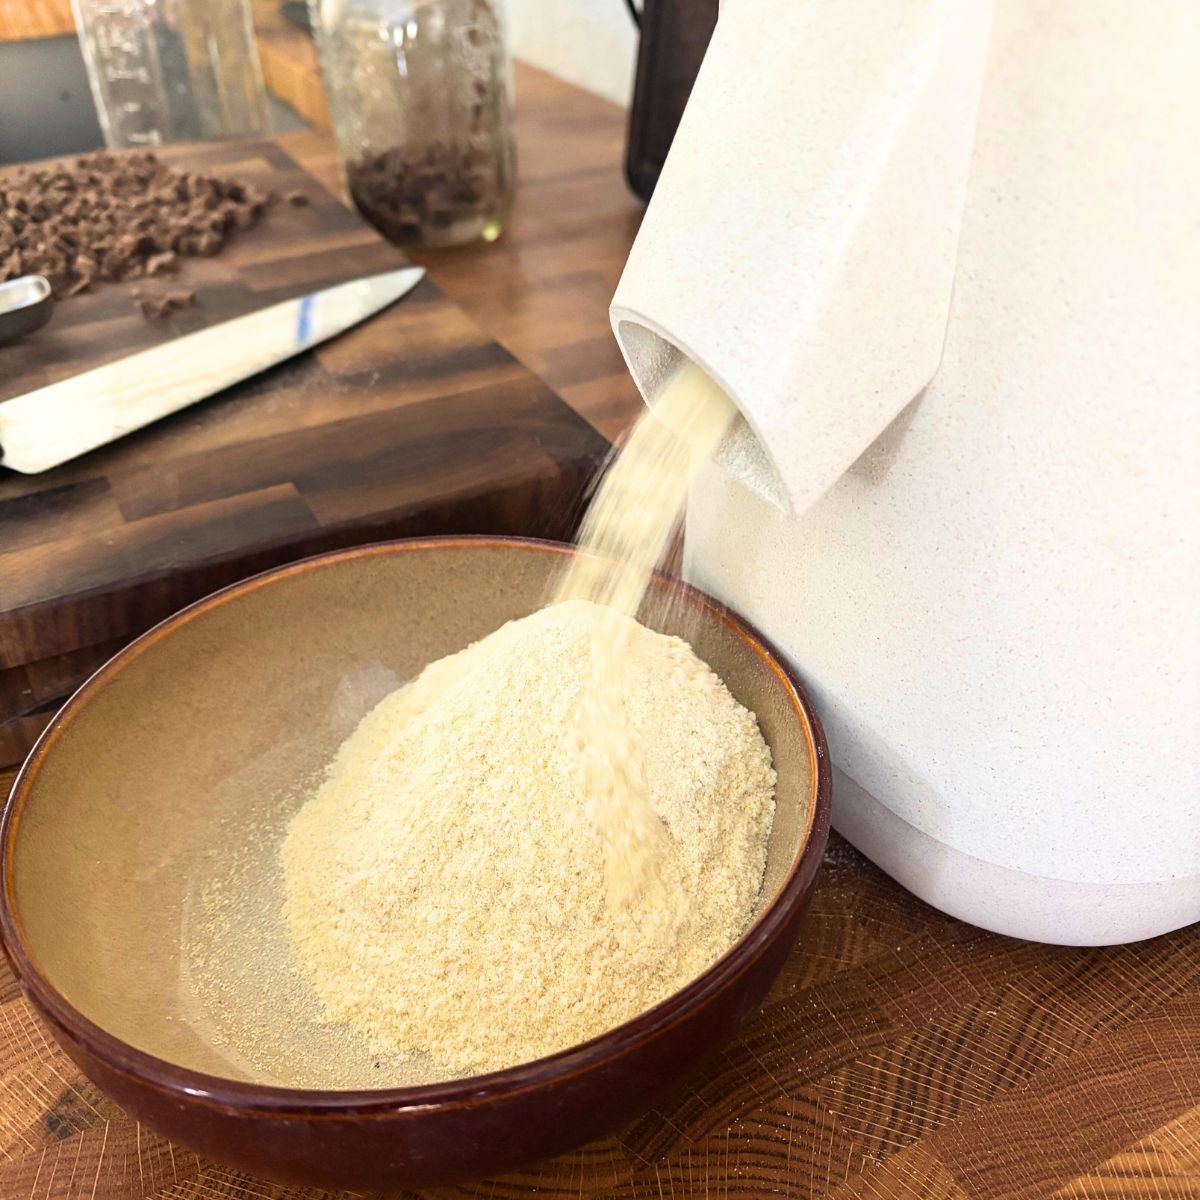
While the flour is milling, begin to warm milk gently on the stove top on a low heat. It does not need to be hot just slightly warm.
Combine flour, baking powder, and salt in a medium-sized bowl. Mix the dry ingredients until well combined.
Make a well in the the flour mixture and add the vinegar, milk and oil. Stir until the mixture become a shaggy ball. Cover and let the dough rest for 10 minutes.
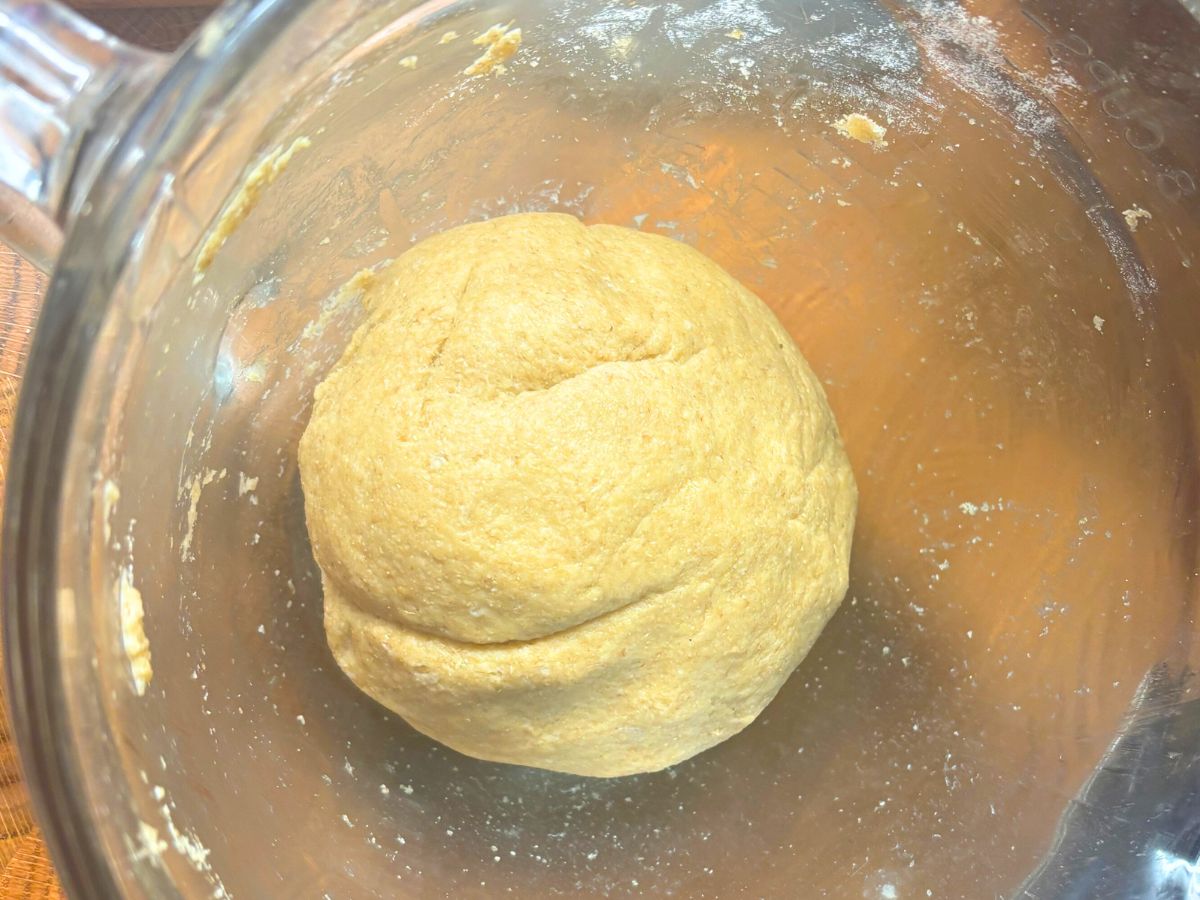
After it has rested, knead the dough for 3-5 minutes until it becomes smooth and elastic. Cover and let rest for another 10 minutes.
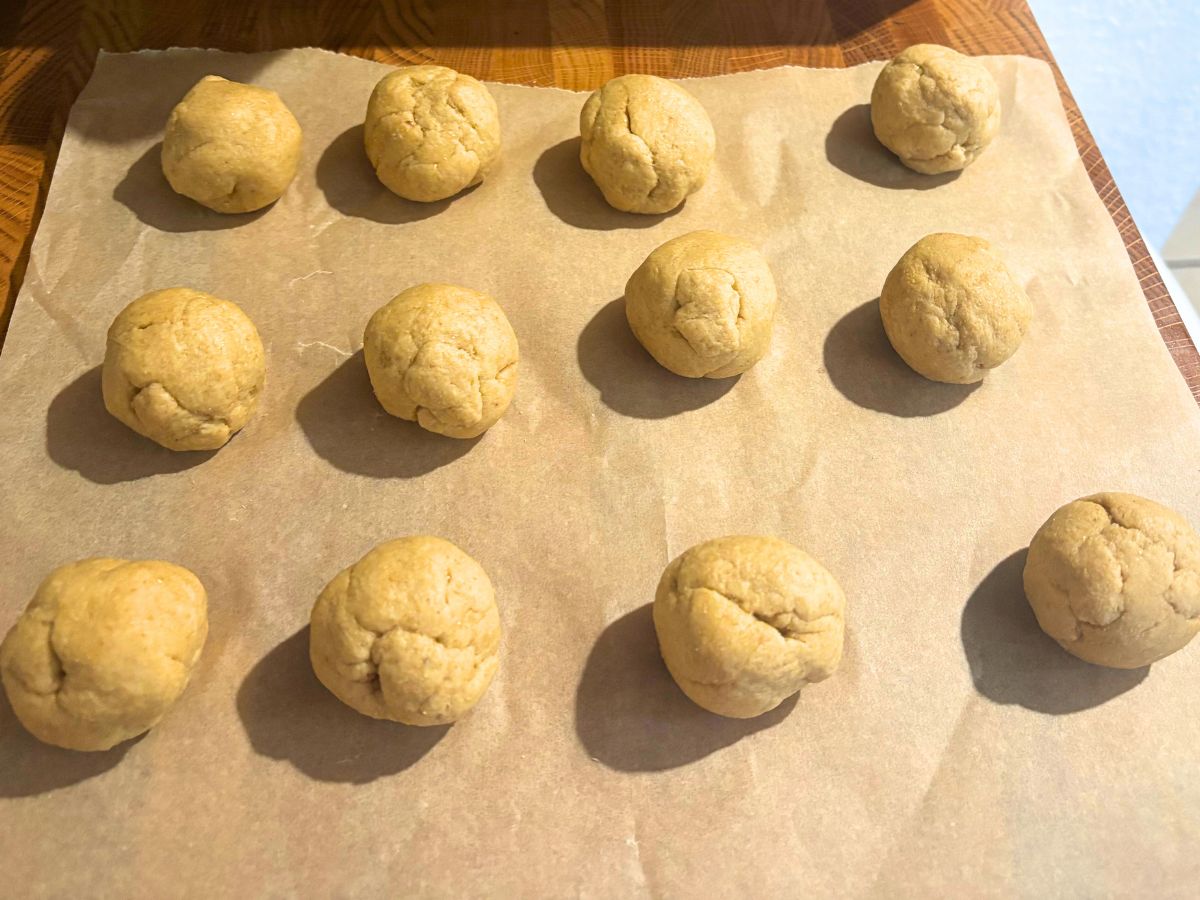
Divide the dough into 12 equal part and roll them into balls. For even distribution, each tortilla ball should weigh about 40-44 gram. When I make enchiladas or breakfast burritos, I divide the dough into 8 parts with each tortilla ball weighing 60-63 grams. Rest the tortillas balls for another 10 minutes.
Heat a frying pan on medium heat. Make sure the pan is preheated well before cooking anything.
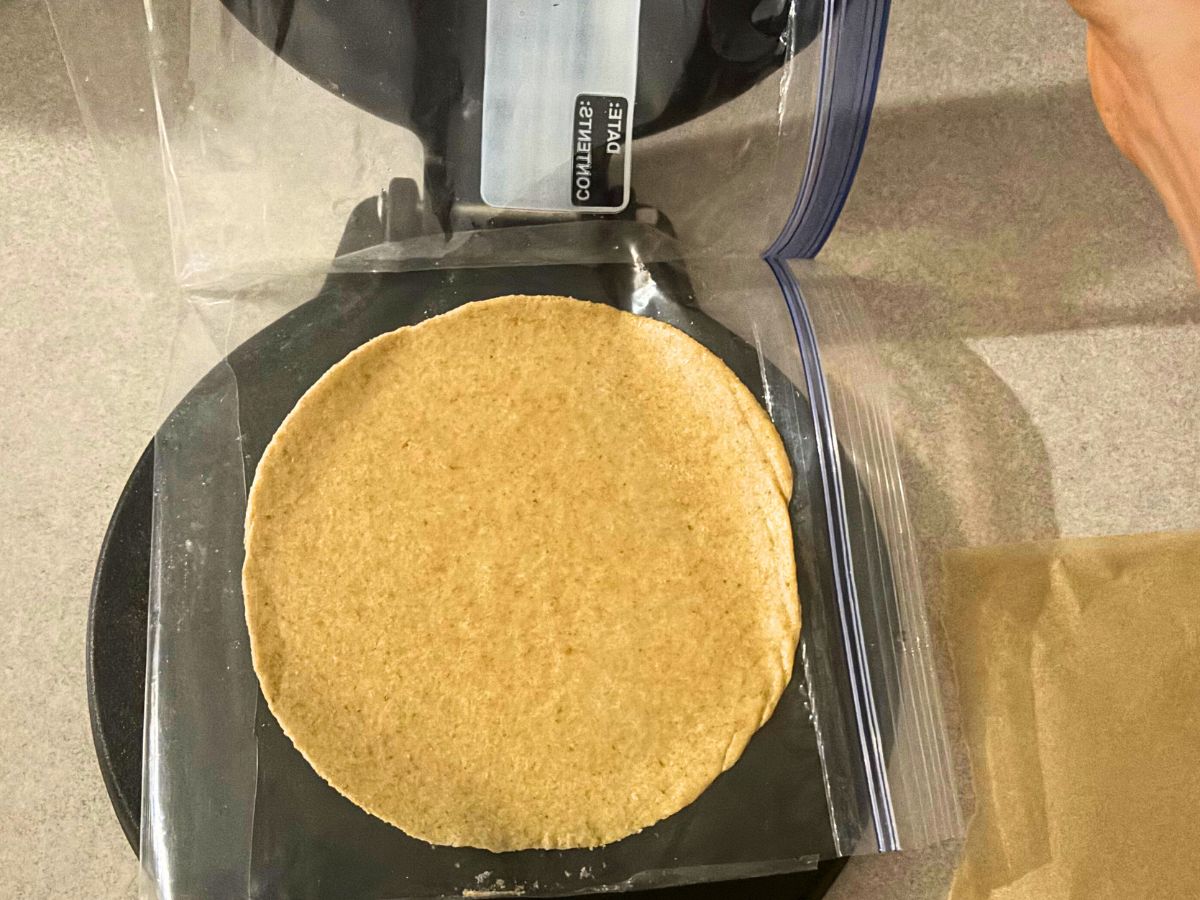
After the dough has rested, roll out the dough, flatten with your hand, or use a tortilla press to make each tortilla approximately 1/8 inch thick.
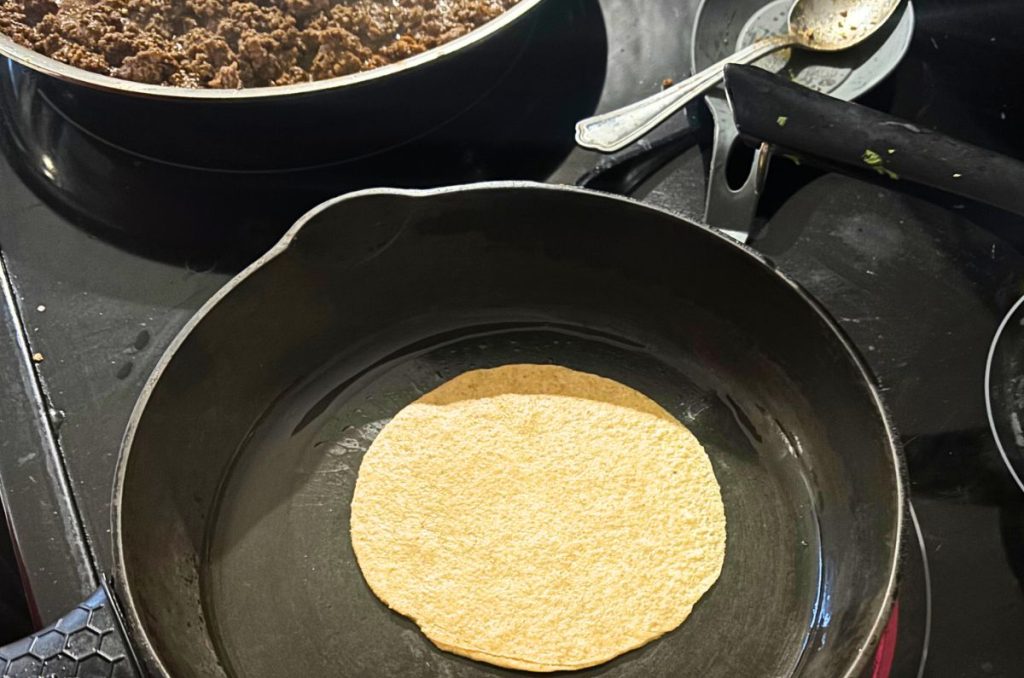
Place the tortilla in the pan and cooked for 1-2 minutes each side until the the dough no longer sticks to the pan and is golden brown.
Tips For Making The Best Homemade Flour Tortillas
- Preheat the pan: This step is vital. In order to get a nice crisp tortilla on the exterior, you must allow the pan the proper amount of time to preheat. If it’s not hot enough, you will not get the golden brown color.
- Don’t flip until it starts to release from the pan: If you notice the tortilla is sticking to the pan, it is not ready to be flipped. You will know it is ready to flipped when it bubbles and starts to release from the pan, similar to a pancake.
- Tortilla thickness: Depending on what type of meal you are having or your personal preference for the texture of your tortilla, you may want to play around with the thickness when flattening out your dough. When I want a more traditional Mexican tortilla that is crispy, I flatten the dough out to be about 1/8 inch thick.
- Flour tips: While freshly milled flour works best, you can also use any store bought flour for this recipe. I like to use 50% Kamut or khorason and 50% hard white, but I have tried a lot of different combinations and all work great!
Homemade Flour Tortillas with Fresh Milled Flour
Equipment
- 1 Medium Mixing Bowl and Spoon
- 1 Pan
- 1 Tortilla Press or Rolling Pin (optional)
Ingredients
- 280 g Hard White Wheat Berries I use a mix of 50/50 hard white/kamut but you can use whatever you like!
- 1.5 tsp Baking Powder
- 1 tsp Salt
- 3/4 c Warm Milk 180g
- 1 Tbsp Vinegar
- 1 Tbsp Oil (Olive, Avocado, or Melted Lard)
Instructions
- Mill all of the flour I like the combination of hard white and Kamut, but you can choose any combination you like or just stick to one type of flour.
- While the flour is milling, begin to warm milk gently on the stove top on a low heat. It does not need to be hot just slightly warm.
- Combine flour, baking powder, and salt in a medium-sized bowl. Mix the dry ingredients until well combined.
- Make a well in the the flour mixture and add the vinegar, milk and oil. Stir until the mixture become a shaggy ball. Cover and let the dough rest for 10 minutes.
- After it has rested, knead the dough for 3-5 minutes until it becomes smooth and elastic. Cover and let rest for another 10 minutes.
- Divide the dough into 12 equal part and roll them into balls. For even distribution, each tortilla ball should weigh about 40-44 gram. When I make enchiladas or breakfast burritos, I divide the dough into 8 parts with each tortilla ball weighing 60-63 grams. Rest the tortillas balls for another 10 minutes.
- Heat a frying pan on medium heat. Make sure the pan is preheated well before cooking anything.
- After the dough has rested, roll out the dough, flatten with your hand, or use a tortilla press to make each tortilla approximately 1/8 inch thick.
- Place the tortilla in the pan and cooked for 1-2 minutes each side until the the dough no longer sticks to the pan and is golden brown.
Notes
- Preheat the pan: This step is vital. In order to get a nice crisp tortilla on the exterior, you must allow the pan the proper amount of time to preheat. If it’s not hot enough, you will not get the golden brown color.
- Don’t flip until it starts to release from the pan: If you notice the tortilla is sticking to the pan, it is not ready to be flipped. You will know it is ready to flipped when it bubbles and starts to release from the pan, similar to a pancake.
- Tortilla thickness: Depending on what type of meal you are having or your personal preference for the texture of your tortilla, you may want to play around with the thickness when flattening out your dough. When I want a more traditional Mexican tortilla that is crispy, I flatten the dough out to be about 1/8 inch thick.
- Flour tips: While freshly milled flour works best, you can also use any store bought flour for this recipe. I like to use 50% Kamut or khorason and 50% hard white, but I have tried a lot of different combinations and all work great!
More Slow Food Recipes You Might Enjoy…
Fresh Milled Shortbread Cookies
Homemade Beef Gelatin Marshmallows
Leave a Reply