If you are new to kefir, I like to think of it as a drinkable yogurt. While yogurt is also a great source of probiotics, it is time consuming and requires special equipment to make. Kefir, on the other hand, only requires 5-10 minutes of work time and just a jar, strainer, and kefir grains. Plus, kefir actually has more probiotics than yogurt! For these reasons, kefir is my go-to, simple probiotic dairy.
I originally shared this recipe back in 2023, and today I am updating it with new photos as well as some tips and tricks I’ve learned for making a creamy and delicious kefir!
Even though I love how easy it is to make kefir, I also still love the thick creaminess of yogurt. By slow-fermenting your kefir, you can get the best of both worlds! Slow-fermented kefir is still a beverage, but it has a rich and creamy texture that resembles yogurt. I love to use it in smoothies, sauces, frozen kefir, or even mixed with fresh fruit and granola to make a kefir parfait.
Why You Should Drink Kefir
Kefir has numerous health benefits throughout the body which include:
- Powerful probiotic: Kefir contains approximately 30 strains of bacteria and up to 1.5 trillion beneficial bacteria making it a better probiotic than any yogurt or supplement. It contains 100 times as many bacteria than you would find in a probiotic supplement.
- Gut friendly. It adds good bacteria to the gut which can improve a variety of IBD and IBS symptoms such as abdominal pain, bloating, constipation, diarrhea and gas.
- Strengthens the immune system. All those good bacteria work to fight off bad bacteria that can attack the body on a daily basis. Approximately 70% of the immune system is housed within the gut. Arming the gut with a beverage like kefir will create a lining of good bacteria that will provide a layer of protection against any harmful intruders.
- Easily digestible. The bacteria in the kefir grains feed off of the lactose in milk during the fermentation process creating a product that is low in lactose. For this reason, many people with dairy sensitivities tolerate kefir quite well.
- Nutrient dense. The list includes calcium, magnesium, vitamin D, vitamin K, vitamin B12, riboflavin (vitamin B2), and phosphorus. All of which promote healthy body systems.
- Anti-inflammatory: Kefir helps control bad bacteria that causes inflammation throughout the body which even includes things like the skin and acne.
How To Make Slow Fermented Milk Kefir
While making slow-fermented kefir isn’t difficult, there are a few key points to be aware of to give you the best results
Kefir Grains:
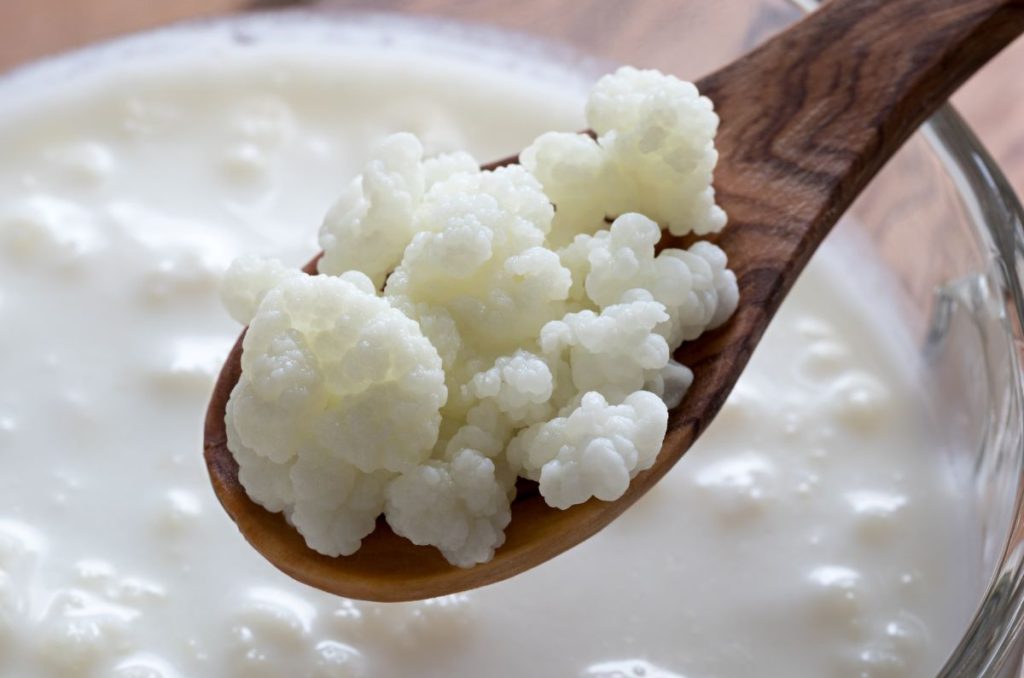
These can be purchased online or sometimes you can get them from someone who has extra. Like a scoby in kombucha or jun, the grains will keep multiplying so people often have extra. If you get raw milk from a local farm, they will often have extra grains available. The Weston A. Price Foundation is a great source to find local farmers. The key for slow-fermented kefir is not to use too many grains:
Many people will recommend 2 TBSP grains for 1 quart of kefir. However, in order to slow down the fermentation process, you will only need 1-1.5 TBSP of grains per 1 quart of kefir.

How Long to Ferment Kefir:
The amount of fermentation time depends on the temperature of your home. Unless you keep you home at a constant temperature all year round, you will want to use the different fermentation methods below. I have provided tips for a times of the year when your home may be warmer and cooler.
Summer: Single Fermentation
When the home is warmer during the summer, this technique works well for temperatures between 70-80 degrees.
Step One: Place grains in milk and store with lid loosened or a cloth over the jar so it can breath.
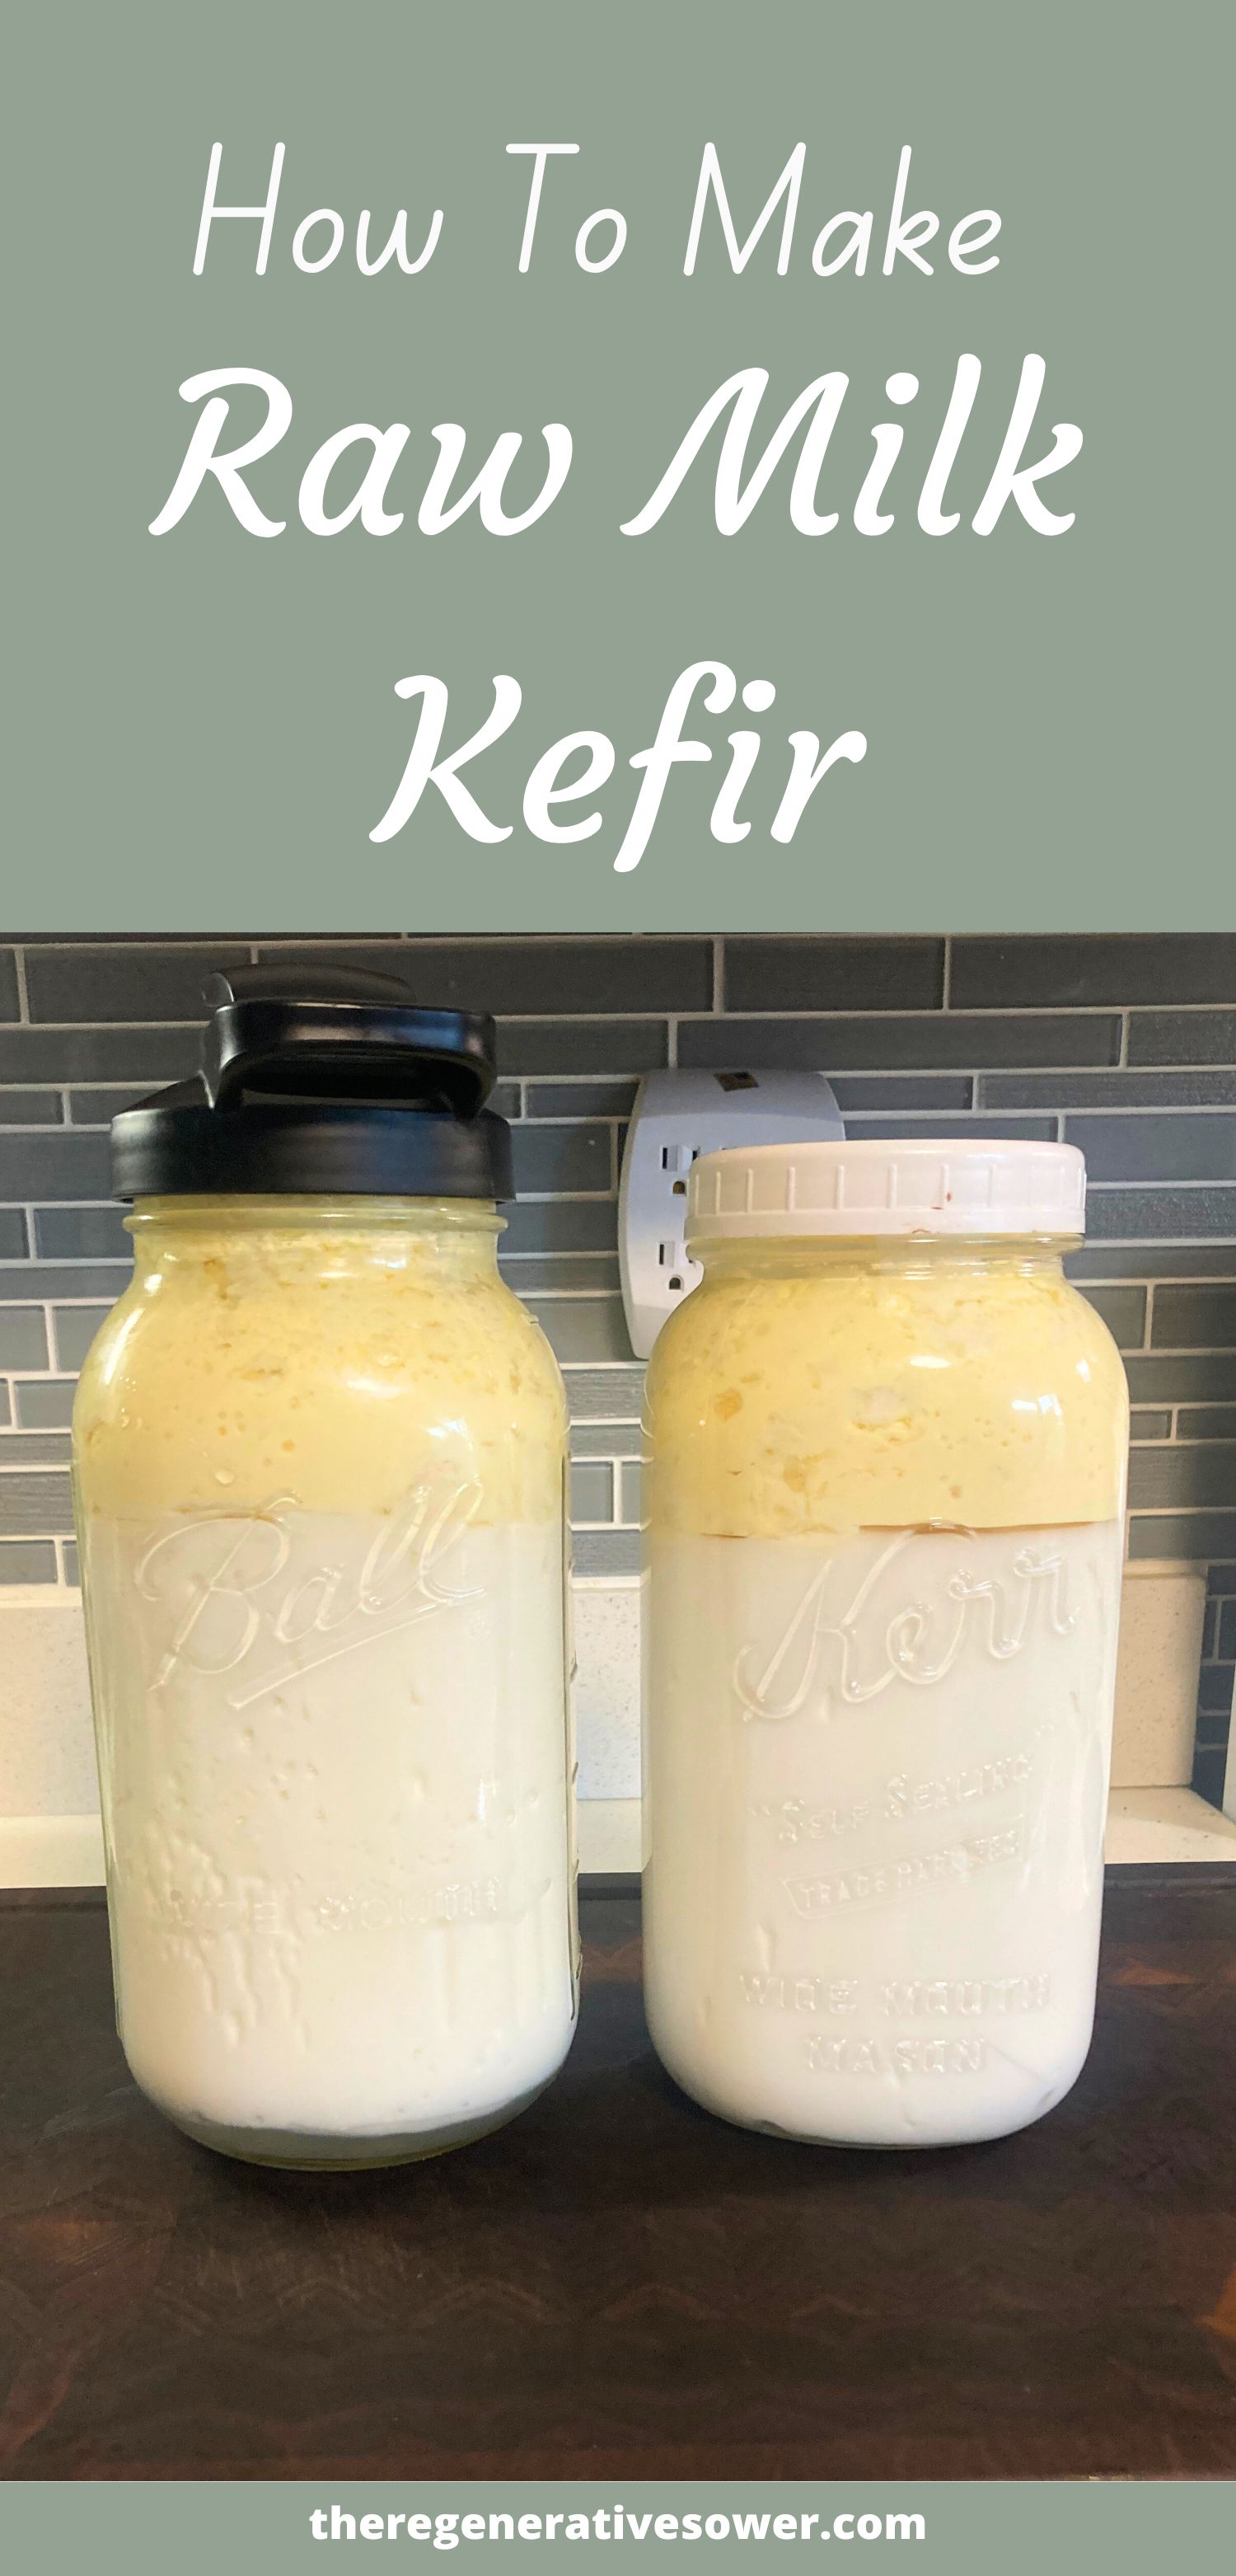
Step Two: Let ferment for 12-24 hours for a quart jar or 24-48 hours in a ½ gallon jar. You will know it is done when the chunky looking grains have risen to the top and there are indents in the kefir along the sides of the jar. Where it differs from the winter kefir is that there will also be some clear liquid around the lower portion of the jar which will allow the mixture to move a little bit when you twist it side-to-side.
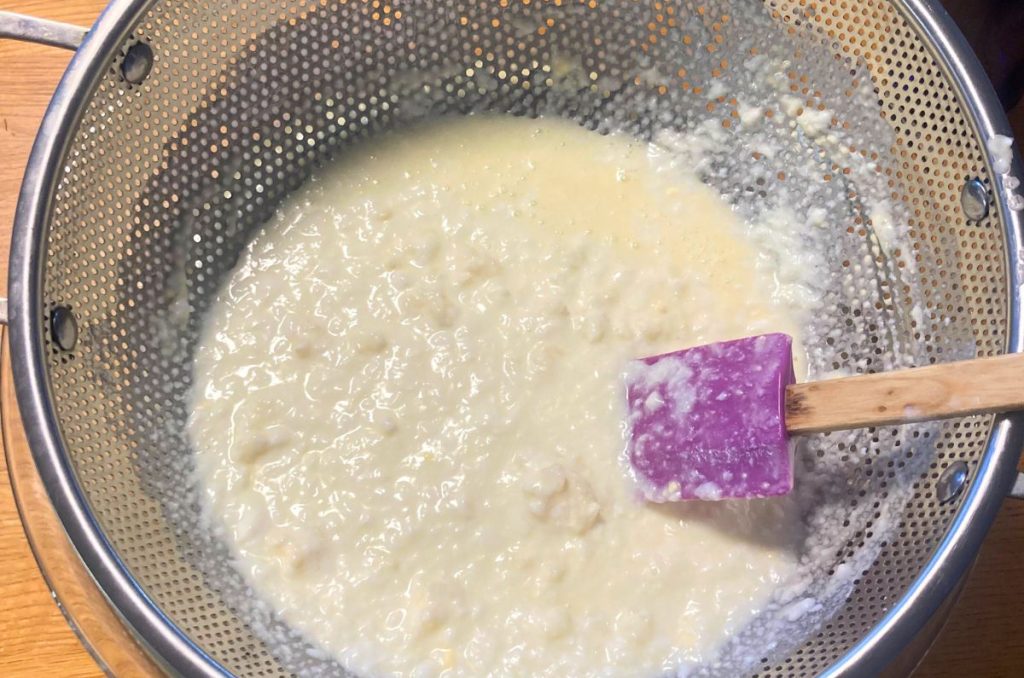
Step Three: Strain and remove the grains from the mixture. You can store them in just enough milk to cover them in a jar in the fridge to preserve them for the next batch.
Step Four: Store in fridge, serve, and enjoy!
Winter Kefir: Double Fermentation
If your home is a little cooler during the winter like ours. This fermentation method works well for temperature from 60-70 degrees.
Step One: Place grains in milk and store with lid loosened or a cloth over the jar so it can breath.
Step Two: Let ferment 2-3 days in a quart jar or 3-4 days in a ½ gallon jar. You will know it is done when the chunky looking grains have risen to the top and there are indents in the kefir along the sides of the jar. It will look much like summer kefir, except there won’t be as much liquid around the lower part of the mixture.
Step Three: Strain and remove the grains from the mixture. You can store them in just enough milk to cover them in a jar in the fridge to preserve them for the next batch.
Step Four: Put kefir back into a jar and seal lid tightly. Let ferment for another 12-24 hours or until it starts to separate into a clear liquid on the bottom and the milky kefir on the top. There only needs to be 1-2 inches of separation here. This is when all the wonderful probiotics have time to grow!
Step Five: Store in fridge, serve, and enjoy!
More Slow Food Recipes You Might Enjoy….
Homemade Frozen Yogurt: Kefir or Yogurt
Leave a Reply