Not only is it great to make your own butter so that you know exactly what’s in it, but it also tastes better! Butter is so much easier to make today than when it was made with a butter churn. You can whip up (literally) a batch of butter in about 10 minutes.
When made with quality cream and a little bit of sea salt, fresh butter has fantastic flavor and numerous health benefits. This is a great way to use up extra cream bought for a recipe that would otherwise go to waste. Plus, after making the butter, you will be left with buttermilk which is great for making scones, pancakes, and biscuits!
Benefits Of Homemade Butter
Grass-fed butter has a number of fantastic qualities plus it’s delicious! Saturated fat has gotten a bad reputation, but it is actually extremely important in the human diet. Butter is the go-to cooking fat in our household because of the variety of benefits it has.
- Vitamin A for thyroid & adrenal health (responsible for ensuring cardiovascular health). It also works as an antioxidant!
- One of the best if not THE best source of vitamins A, D, K, and E. All of these are fat soluble vitamins meaning fat is needed to absorb them. No matter how many vitamins we ingest, they won’t be absorbed as well without fat. Therefore, consuming these vitamins through butter is the best way to absorb them!
- Butter contains vitamin K2 which is found in very few other sources. Vitamin K2 is responsible for preventing tooth and bone decay, reversing arterial calcification, used as a therapy for rheumatoid arthritis, preventing prostate cancer, and the treatment of leukemia and lung cancer.
- Contains lauric acid which is used to treat a variety of viral, fungal, and bacterial infections.
How to Make Homemade Butter From Cream
There are a few different ways to make butter. Two of the simplest methods are in a stand-up mixer or the even simpler method with a jar!
How To Make Butter In A Mixer
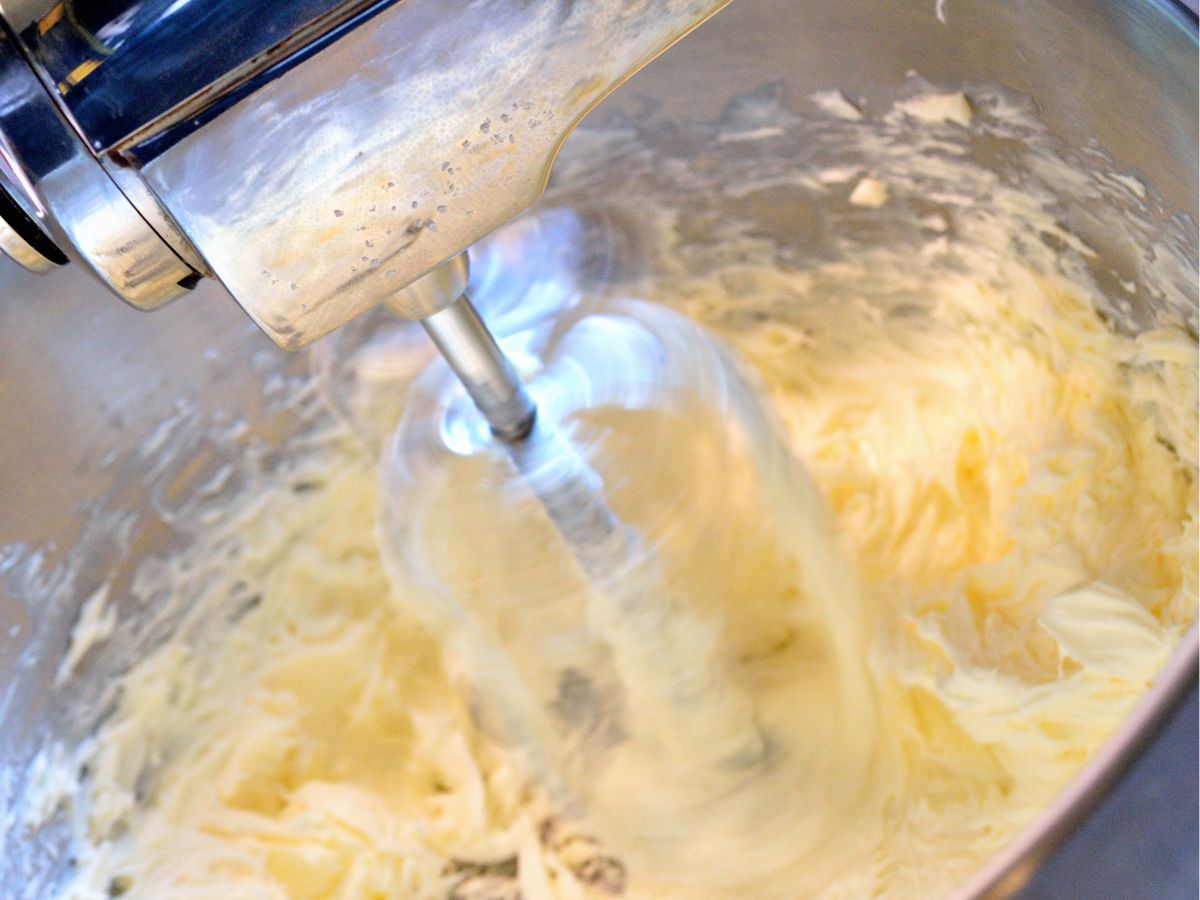
Making butter in a stand up mixer is one of the quickest and easiest ways to get fresh butter.
Instructions:
1.Pour cream into a stand-up mixer. Don’t fill it more than half full or the cream will splash over the sides of the bowl.
Use the whipping tool until the cream turns into whipped cream or a little beyond when it starts to curdle. Start on a low speed and increase the speed as the cream starts to thicken.

2.Switch to the mixing paddle and whip on a high speed until the butter begins to separate from the cream. As it begins to separate, slow the speed down and cover the mixing bowl to prevent the buttermilk from splashing.

3.Strain off buttermilk and preserve to make scones, biscuits, pancakes, or simply to drink!
4.Place butter in a bowl. Rinse and knead the butter a few times with water until the water is clear. This removes any additional buttermilk which will preserve the butter longer. You can skip this step if you plan to eat the butter right away.
5.After squeezing as much of the water and buttermilk, mix in 1 tsp of salt for every gallon of cream used. For example, I usually make butter with 1 quart of cream at a time, so I use ¼ tsp of salt.
This will not make your butter salted like you will find in the store but is just enough salt to draw out any additional liquid for preservation.
6.Stick butter to one of the sides of the bowl and bowl prop up on a towel to allow the salt to draw the remaining liquid out. Pour off the excess liquid, shape and store in plastic wrap in the fridge or freezer.

How To Make Butter in a Jar
If you don’t have a stand up mixer or would like a fun way for kids to get involved in butter making, using a jar is also a great method for butter making!
Instructions:
- Fill jar half full with cream.
- Shake jar until the butter chunks separate from the buttermilk. This works great if you have a few people to take turns shaking the jar. You can even pass it around at the dinner table!
- See steps 3-6 under the stand-up mixer method above for preserving your butter.



Leave a Reply