When it comes to hair care products, many of us are becoming increasingly conscious of the ingredients we put on our hair and scalp. We scoured the internet looking for natural hair gels for my husband’s hair but couldn’t find one without questionable ingredients which led us to develop our own formula.

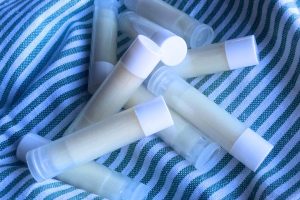
When making your own hair styling cream, you know exactly what is in the product as well as the quality of the ingredients. You can have healthy hair that stays in place without compromising your health. This recipe is quick and easy to mix up and will help your hair stay put!
Why Go Non-Toxic?
Commercial hair products, while effective in styling and holding your hair in place, often contain a laundry list of synthetic chemicals. These chemicals, such as parabens, sulfates, artificial fragrances, and more, can have adverse effects on your hair and overall health. Skin irritations, allergies, and hair damage are just a few of the issues that may arise from regular use of commercial hair products. Not to mention that many of these ingredients are hormone disruptors which further damages health and wellness.
As the demand for non-toxic and eco-friendly beauty products continues to grow, DIY non-toxic hair styling cream is a fantastic option for those looking for a more natural hygiene products. By making your own non-toxic hair cream, you not only have control over the ingredients but can also enjoy the benefits of natural, nourishing components that promote healthier hair. Try out this recipe for healthy hair that holds all day.
Benefits of DIY Non-Toxic Hair Cream
Healthier Hair: The ingredients in this homemade hair gel, such as shea butter and coconut oil, provide essential nutrients and hydration to your hair, resulting in healthier and shinier locks.
Eco-Friendly: By making your hair gel at home, you can reduce waste from plastic packaging and minimize your carbon footprint. The ingredients are also natural reducing the impact of making synthetic materials.
Customizable: You have control over the scent and consistency of your DIY hair gel. Experiment with different essential oils and olive oil quantities to suit your hair’s unique needs.
Non-Toxic: This hair gel is free of harmful synthetic chemicals commonly found in commercial products, making it a safer choice for both your hair and your overall well-being. You won’t find ingredients like parabens, sulfates, or phthalates which are made from petroleum and have been shown to disrupt hormonal function.
Cost-Effective: Creating your hair gel can save you money in the long run, as the cost of coconut oil, shea butter, beeswax and essential oils is minimal when bought in bulk and compared to store-bought products.
Tips and Tricks for DIY Hair Cream
Experiment with the thickness: If your gel comes out too thick for your liking, you can adjust it by adding more olive oil and simmering until you achieve the desired consistency.
Test essential oils: Essential oils offer a wide range of scents and potential benefits for your hair. Play around with different oils to find the perfect combination for you.
Use it sparingly: A little goes a long way with this homemade hair styling cream, so start with a small amount and add more if needed.
How To Make DIY Hair Styling Cream
DIY Hair Styling Cream
Equipment
- 1 Medium Glass Bowl
- 1 Small Sauce Pan
Ingredients
- 2 Tbsp Shea Butter
- 1 tsp Coconut Oil
- 1 tsp Beeswax
- 1 tsp Olive Oil
- 1 tsp Honey
- 8-10 drops Essential Oils optional
Instructions
- Add shea butter, coconut oil, and beeswax to a glass bowl and place over a small sauce pan to create a double boiler. Heat on medium heat until mixture is melted.
- Remove from heat and let cool until it the mixture just begins to harden. Stir in olive or argon oil, honey, and any essential oils you would like.
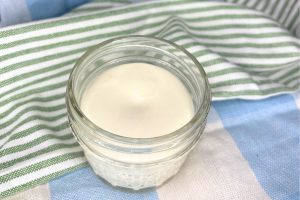
- Let cool until the mixture hardens. If you're impatient like me, put it in the fridge to speed up the cooling down process.
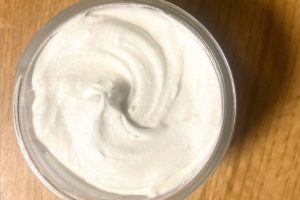
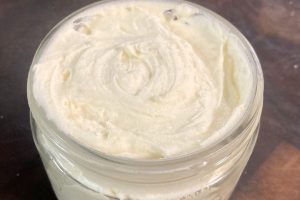
- If you would like a more spreadable texture, use a hand mixer to whip the mixture once it hardens. This will make it light, fluffy, and easy to distribute in your hair.
Notes




Leave a Reply